
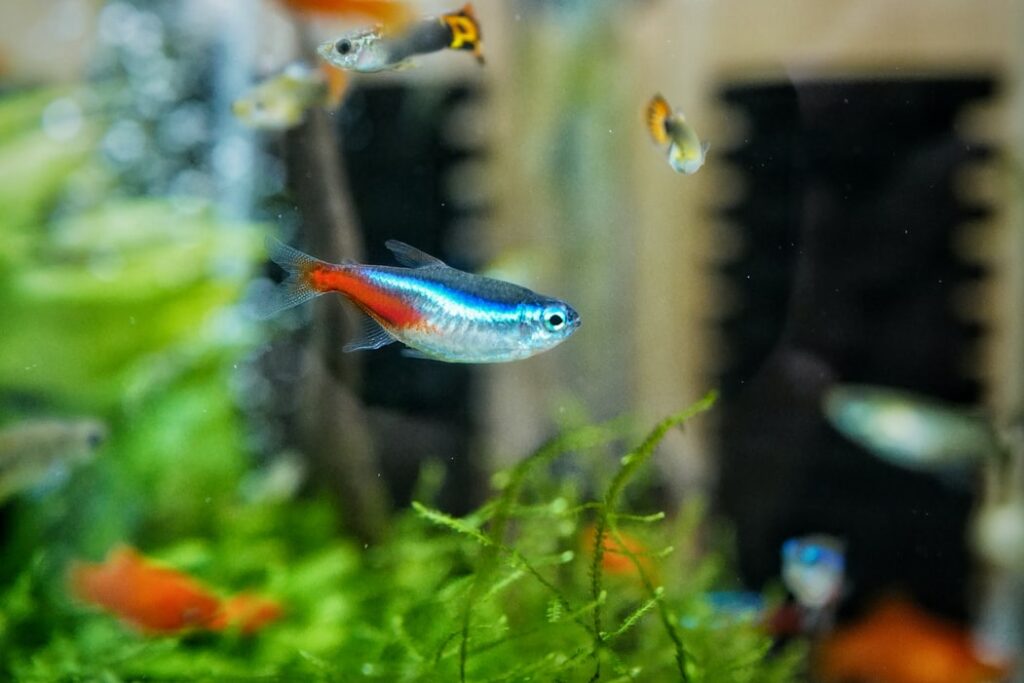
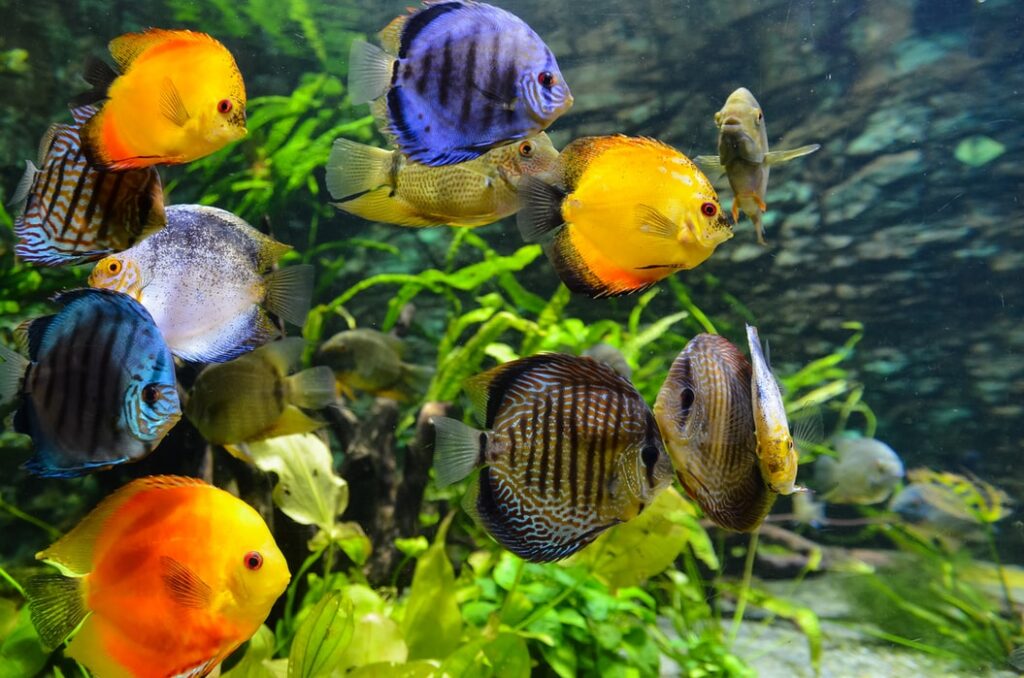
As you have now transitioned into the #stay-at-home culture, you have seen the many DIY projects over multiple social media platforms and you’d like to try one of your own to share. So why not start by doing something you love, get a new home for your fish, but this time construct all by yourself.
Read through the article, as a walkthrough for constructing your glass aquarium. Be sure you do not skip any step for the safety of your marine life besties. Please enjoy.
First and Foremost: What You Need To Know

The fundamentals of constructing a DIY glass aquarium, whether for saltwater or freshwater, are fairly simple:
- Design and schedule ahead of time.
- Take precise measurements.
- Make sure the glass is ready.
- Use the appropriate adhesive.
- Correctly apply the adhesive.
- Install the glass with bubble-free, continuous seams.
The only difference between constructing a larger tank and a smaller one, say 55 gallons or less, is that the bonding process must be near flawless, and the glass thickness must be adequate to withstand the increased water pressure while leaving a margin of error for the unforeseen (such as bumps or external impact).
Using too thick glass means you will be wasting money, and using too thin glass means you’ll be up at night listening for the sounds of breaking glass and running water.
Glass Quality and Thickness Selection

Glass consistency is dictated by the processes and techniques used by each manufacturer. The tensile strength of the samples tested ranges from 19.3 to 28.4 megapascals (measures pressure forces).
The strength of glass can vary due to limitations in the glass manufacturing process, so a suitable protection factor must be used when measuring glass thickness. The most common factor is 3.8. This is not a guarantee, but it would effectively eliminate all risks of glass failure except those caused by damaged or very low-quality glass. The most common cause of failure would be scratches and chips in the glass.
Check out the DIY custom aquarium glass thickness chart that will help you figure out what glass thickness you’ll need for your tank quickly. You may believe that the 3.8 safety factor is excessive for your tank and position (for example, low traffic in a protected area) and that a lower factor is preferable.
The Economics Of Aquarium Construction
If you do things to support the tank, you can save money on building and avoid the thicker glass. The standard 55-gallon aquarium, for example, is 4-foot-by-15-inches in size, which is a standard size among hobbyists. Glass with a thickness of 1/4 inch (six millimeters) is usually used to make this tank.
The glass has a protection factor of 2.92, according to the measurements on the aquarium glass thickness table. By installing a four-inch-wide glass brace at the center top of the aquarium from front to back, you can increase the safety factor for a given glass thickness and tank size.
The chance of breakage is reduced to that of a 2-foot wide panel of glass when the front and back glass panels are braced, raising the safety factor to 3.38. Instead of using thicker glass to improve the protection factor, bracing could be used to compensate.
Another way to save on glass thickness is to build the tank stand to protect the entire bottom of the tank by sandwiching a styrofoam or polystyrene pad between the tank and the stand. The pad prevents the tank from failing due to a point load on the glass surface caused by dirt or grit on the stand surface.
Another trick is to calculate the necessary thickness for your tank’s end bits. The needed thickness would almost certainly be less than the thickness of the longer front and rear pieces of glass.
Silicone Application
When building a do-it-yourself aquarium, glass preparation and proper panel installation are important, but even more so when building a larger tank. Apply a continuous 1/4-inch bead of silicone to the bottle, leaving no holes or bubbles. Apply just as much silicone as you can work within three to five minutes for the best bonding performance, as silicone tends to skin over after that and will not bind well to the glass.
Install the back glass panel on the bottom, then the side and rear panels, using a bead of silicone on the bottom glass for the back and one side glass panel, as well as on one side edge of the back panel.
The silicone must be smoothed out after every segment to be joined has been set in place. Starting at one end of a joined segment, press the tip of an index finger into the silicone, then run it firmly and uniformly along the full length of the silicone joint at a slight angle without raising your finger. Using duct tape, secure the joined section in place.
The tank base’s supporting surface must be perfectly level. This can be difficult to achieve in large aquariums, and self-leveling filler may be needed between the polystyrene and the foundation. This should be applied just before attaching the aquarium to the base to ensure that the aquarium’s weight evens out any irregularities. Before filling the aquarium with water, give enough time for the filler to level and cure completely. Follow the instructions on your filler product’s packaging.
Conclusion
A fish tank acts as both a beautiful decoration in your home and a home to your water-life pets. The process of constructing one should strike a balance between cost-efficiency, and safety for both you and the pets.
An aquarium should also be clear; this can be achieved by using clear water, and even better, including a filter or two. And since you will need to regularly change these filters, you can consider ordering aquarium filter foam in bulk to satisfy this need. Check imountaintree.com for more info.


